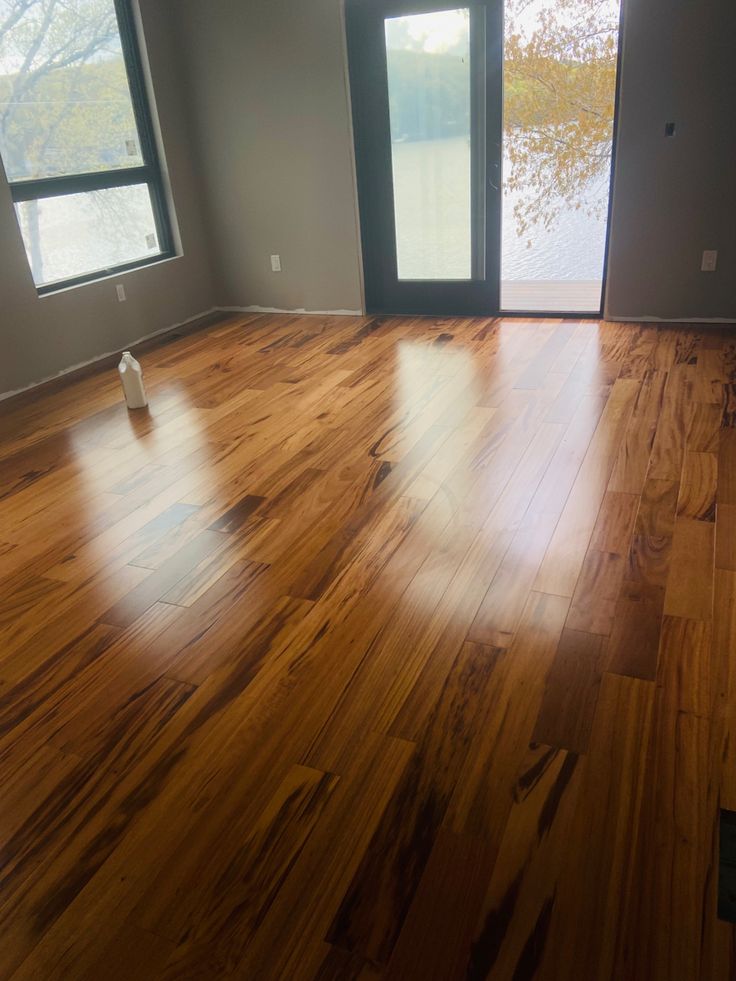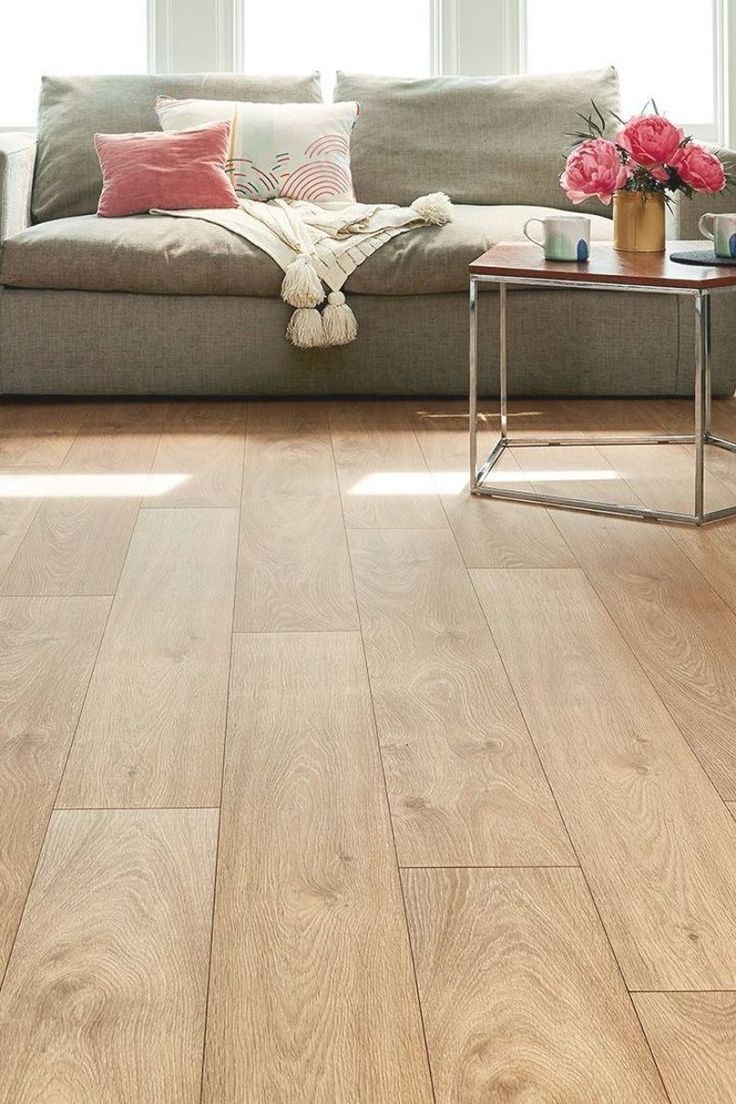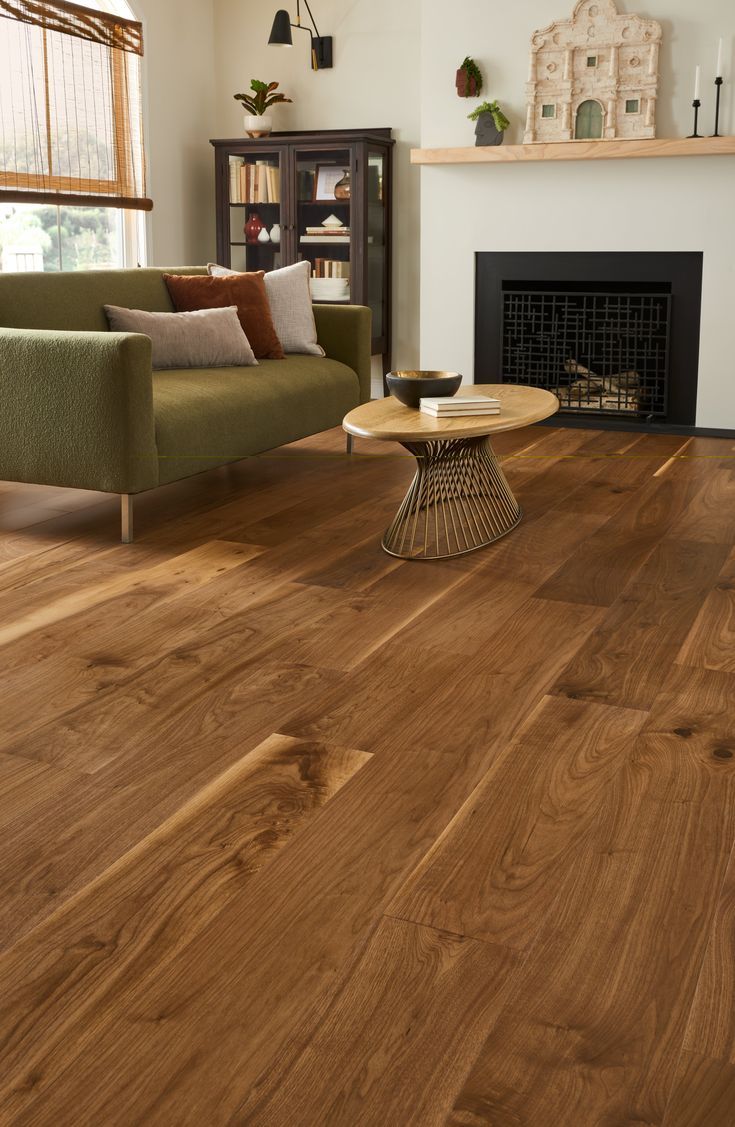
Novera Flooring Laminate is a premium flooring solution designed for durability,
aesthetic appeal, and ease of installation. Our laminate flooring is manufactured with
high-quality materials using advanced technology, ensuring it is resistant to wear,
scratches, and moisture. With a range of stylish finishes that replicate natural wood
textures, Novera Flooring is ideal for both residential and commercial spaces.
Our laminate flooring features:
- High-Density Fiberboard (HDF) Core: Ensures superior strength and durability.
- Wear-Resistant Surface: A protective top layer prevents scratches, stains, and
fading.
- Click-Lock Mechanism: Enables easy, glue-free installation.
- Moisture Resistance: Engineered with a water-resistant core and sealed edges.
PRE-INSTALLATION
GUIDELINES
Before installing your Novera Flooring, it is crucial to prepare the environment properly to
ensure long-term performance and warranty protection
Acclimation
Laminate flooring must be acclimated to the room temperature and humidity levels before installation
to
prevent expansion or contraction after installation.
- Keep the flooring inside the room where it will be installed for at least 48 hours before
installation
- Maintain an indoor temperature of 18-24°C (65-75°F) and humidity between 45-65%.
A well-prepared subfloor is essential for a successful installation. Ensure the following:
- Cleanliness: The subfloor should be free of dust, dirt, debris, and any adhesive residues.
- Dryness: Moisture content should be below 2% for cement subfloors and below 12% for wooden
subfloors.
- Flatness: The subfloor should be level with a maximum unevenness of 2mm per 1m (1/16 inch per 3
feet).
- Structural Integrity: The subfloor should be firm and stable.
If installing over concrete, ceramic tiles, or stone, you must use a 6-mil polyethylene moisture
barrier
to
prevent moisture damage.
If installing over wooden subfloors, a moisture barrier is not required, but underlayment is
recommended
for
sound absorption and comfort.